I wanted to put up bead board in a small laundry room, but lost enthusiasm for the project after realizing I would need to spend a couple of hours nailing boards over my head. So perhaps I did not really need a pneumatic Brad nailer, but now that I own one, I have tons of ideas for more projects! As if there were not enough items on our “to do” list.

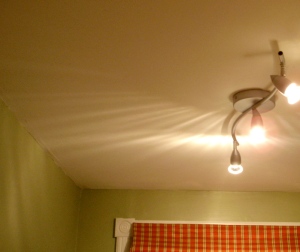
The unremarkable "before shot" made worse by the "track lighting"...
Tools and Materials:
- Brad nail gun
- Mitre saw
- Stud finder
- Chalk line
- Pine beadboard
- Pine crown molding
- Measuring tape
I choose a small room to gain some experience working with the nail gun.
Paint or prime the beadboard first. This will ensure the tongue and grove of the boards are fully covered as it will be hard to get into any uneven joints once the boards are up. For this project, I used a lower grade pine that was meant to be painted. Using the nail gun will also ensure that you do not split boards and that you do not leave hammer marks or nail heads that need to be putty filled.

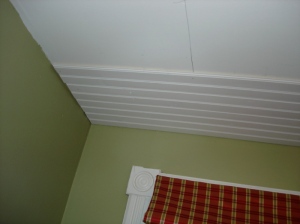
Snapped chalk lines
To put up a bead board ceiling, I first used a stud finder to locate the ceiling joists and then snapped a chalk line to mark their location. The beadboard should be installed perpendicular to the joists so that you get solid wood stock in which to nail.
It is recommended to leave around a 1/4 inch gap to account for expansion of the boards. This gap will be covered by your trim. If the beadboard is going to be installed in a humid room, then you may also want to back prime the boards so they are less susseccible to expansion.
If your ceilings are not true (and chances are they arn’t true) then you may want to account for the irregularity to ensure that the bead will line up and run parallel with the trim molding. This room is a small “scullery” and I did not bother with the added fuss and the slight irregularity is not noticeable at all. The first board should be face nailed, but after that board I “toenailed” the boards to hide the nail heads within the tongue and grove of the beadboard.

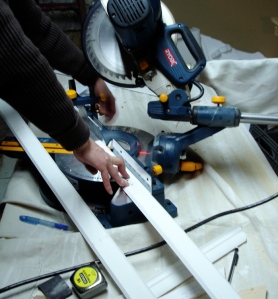
Mitre cut the crown molding
Some boards may be so warped that you won’t be able to use them on long stretches, but can be salvaged to work around light boxes. I tried to keep the alignment of the tongue and grove as tight as possible so there were no obvious gaps.
Once it is all nailed up, then it is time to cut the crown molding. I thought this would be easy, but the experience brought back my regrettable experience of high school math. How to cut a mitered corner is a post in itself… there are some good guides online and your saw’s owners manual should give you the angle degrees you need for the right cut.

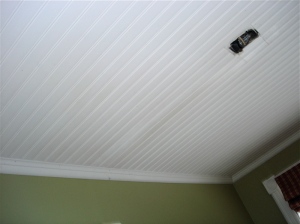
And done
Using the Brad nailer is fun, quick and easy, just do not forget the ear and eye protection. Beadboard looks great in an old house and gives it some Victorian character where there would otherwise be drywall.


